How to Add Voiceover to Google Slides: A Practical Guide
Ever felt like your Google Slides are missing… something? You’ve perfected the visuals and nailed down the key points, but the deck just sits there, silent. Adding a voiceover is the single most powerful way to fix that.
It's a straightforward process: you just record your audio, save the files to Google Drive, and pop them into your presentation using the Insert > Audio feature. This one change turns a static slideshow into a dynamic, self-running presentation that actually grabs and holds your audience's attention.
Why a Voiceover Transforms Your Google Slides
Adding your voice isn’t just about adding sound. A good voiceover brings your slides to life, making the whole experience feel more personal, clear, and professional. You’re essentially upgrading your content from a simple deck into a genuinely effective communication tool.
Your Audience Will Actually Remember What You Said
Think about it—when your audience can see your points and hear you explain them, the message has a much better chance of sticking. Your voice adds a layer of context, tone, and personality that plain text on a screen could never replicate. This is a lifesaver for complex topics or data-heavy slides, where your narration can act as a guide.
In fact, the impact is huge. Recent findings from Skywork AI show a massive 78.50% increase in information retention when audio is included with slides. People just absorb and remember key points better when they hear them, especially in a remote learning or asynchronous setting.
A voiceover turns a monologue into a dialogue. It creates a direct connection with your audience, making them feel as though you are presenting to them one-on-one, even if they're watching on their own time.
Look (and Sound) Like a Pro
A narrated presentation just feels more polished and complete. For anyone creating online courses or presenting to clients, this is absolutely critical for building credibility. A silent deck can feel unfinished, but adding your voice shows you've put in the extra care and attention to detail.
This professional touch is invaluable across the board:
- Online Courses: Build engaging lessons that students can follow at their own pace. When you pair clear voiceovers with a flexible course builder, you create a truly exceptional learning experience.
- Corporate Training: Deliver consistent, clear training modules that employees can access whenever they need to, without you having to be there.
- Client Pitches: Send a self-running presentation that walks clients through your proposal with all the persuasive power of an in-person meeting.
Learning how to add a voiceover to your Google Slides is a skill that pays off immediately. It makes your content more memorable, more professional, and ultimately, far more effective.
Your Simple, High-Quality Recording Setup
You don't need a fancy recording studio to get professional-sounding audio for your Google Slides. The trick is to use a simple, affordable setup that delivers broadcast-quality voiceovers without any learning curve.
My own go-to setup is a Fifine AM8 USB condenser mic (around $30–$40) paired with Audacity, which is 100% free. This combo is plug-and-play, sounds warm and clear, and is all you need for professional voiceovers. If you want something even cheaper, the Maono AU-A04T works great too.
Choosing Your Microphone and Software
The microphone is the heart of your recording setup. For voiceovers, a USB condenser mic is your best bet because it’s designed to capture the rich details in your voice. I’m a big fan of the Fifine AM8 because its cardioid pattern is a lifesaver—it focuses on sound from the front and rejects background noise, which is essential if you don't have a sound-treated room.
For software, you only need to record, trim, and export. Here are the best free options:
- Audacity (PC/Mac/Linux): This free, open-source software is an industry workhorse for a reason. It’s lightweight, has excellent noise reduction, and lets you trim silence in seconds.
- GarageBand (Mac): If you’re on a Mac, you already have this free powerhouse. It’s more than capable of handling voiceover recording and basic editing right out of the box.
A high-quality voiceover really begins with a clear recording. For those who want to level up their gear, checking out the best audio recorder device can make a noticeable difference. But honestly, a good USB mic is all most people will ever need.
Creating Your Makeshift Recording Booth
Here's a secret: you don't need a professional studio to get professional sound. The biggest killer of a clean voiceover is echo (reverb) from your voice bouncing off hard surfaces like walls and desks. You can defeat it with stuff you already have at home.
Pro Tip: I record in a quiet room with a cheap pop filter and a blanket over my shoulders to kill echoes. It looks silly, but it absorbs sound reflections and creates a surprisingly deadened, professional sound without any fancy booth needed.
This DIY method effectively isolates your voice, giving it that focused, crisp quality you'd expect from a much pricier setup.
The Foolproof Workflow for Recording and Inserting Audio
Now that your gear is sorted, let's get into the most reliable process for capturing and embedding your audio. The golden rule is simple: record one separate audio file for each slide.
This one-file-per-slide method is a game-changer. It makes editing a breeze and saves you from the nightmare of resyncing an entire presentation after a small mistake. Need to re-record slide 12? Just redo that one small file, not the whole thing.
Recording and Naming Your Audio Files
My dead-simple, foolproof workflow takes about 5–10 minutes per slide. Open your recording software (like Audacity) and get ready to capture the narration for one slide at a time. It helps to have the slide open on a second monitor so you can speak naturally while advancing it mentally.
Organization is your best friend. Use a clear, consistent naming system to avoid a confusing mess of files.
slide-01-intro.mp3slide-02-problem.mp3slide-03-solution.mp3
A clear system like this instantly tells you which audio belongs to which slide. And before you hit record, it pays to master your narration skills; focusing on good pacing and clarity makes a huge difference.
This simple diagram breaks down the only three things you really need for a solid recording setup.
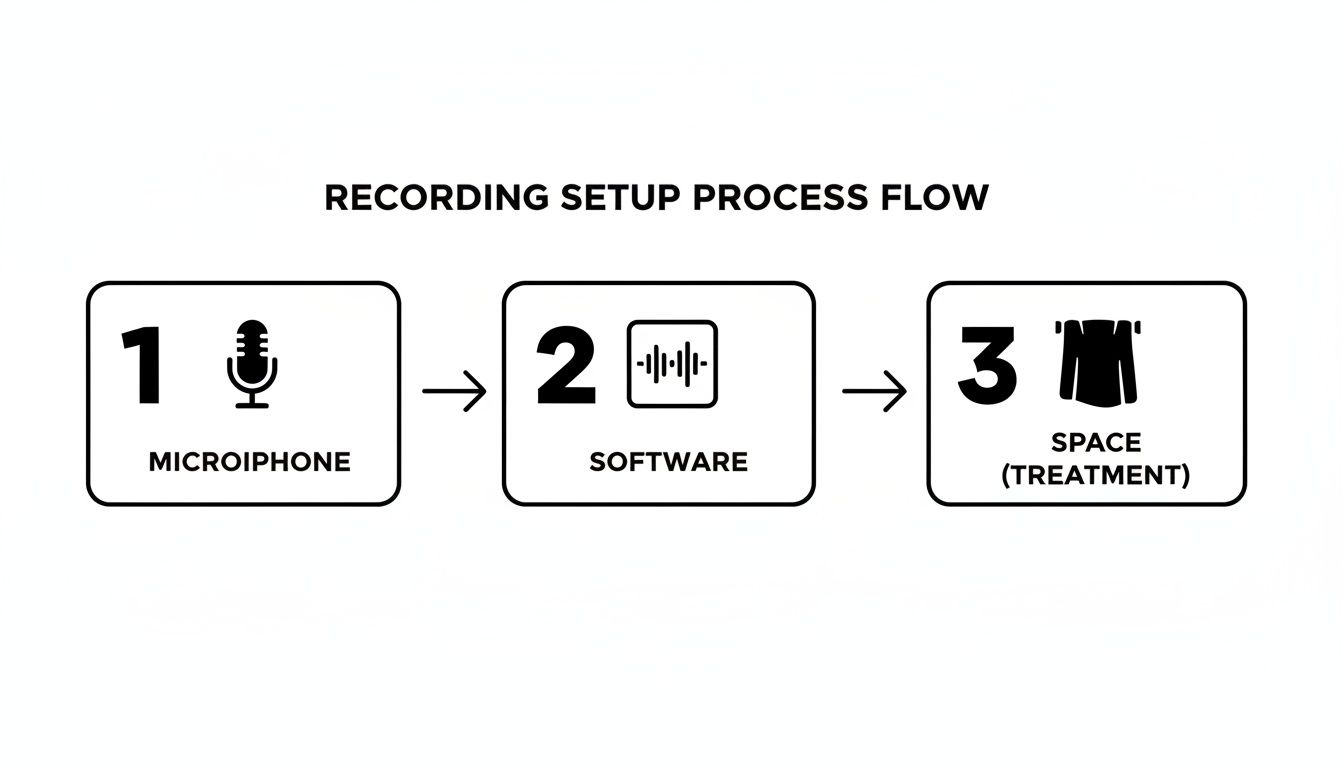
That's it. A decent USB mic, some free software, and a quiet room without a lot of echo are all you need to capture professional-sounding audio.
Inserting and Configuring Audio in Google Slides
With your audio files recorded and neatly named, it's time to bring them into your presentation.
First, upload each MP3 to your Google Drive. Then, in Google Slides:
- Go to the exact slide you want to add audio to.
- Click Insert → Audio and select your MP3 file from Google Drive.
- Click the speaker icon that appears on the slide.
- In the sidebar, choose “Play automatically” and “Stop on slide change”.
I can't stress this enough: making each slide a self-contained unit is the most reliable method. You avoid complex syncing errors and make future updates painless because there’s no single, massive audio track to wrestle with.
These two settings are non-negotiable for a professional, hands-free experience. If you forget “Play automatically,” your audience will just see a speaker icon and have to click. The “Stop on slide change” setting is just as crucial—it prevents audio from one slide from awkwardly bleeding into the next.
Perfectly Syncing Audio with Automatic Slide Transitions
Nothing ruins a great narrated presentation faster than poorly timed slides. We’ve all seen it: the slide advances too early, cutting off the speaker, or it hangs around for an awkward ten seconds of silence. It feels unprofessional.
The secret to a seamless flow is to sync your audio duration perfectly with each slide's transition timing. This creates a completely hands-free viewing experience that works every time.
Finding Your Audio's Exact Duration
The whole system relies on knowing the precise length of your audio file for each slide. A tool like Audacity makes this incredibly easy.
After editing the narration for a single slide, look at the bottom of the Audacity window. The file's exact duration is displayed there.
Let's say the audio for slide-02-problem.mp3 is 1 minute and 23 seconds long. You'll need to convert that into total seconds for Google Slides.
It's simple math: just multiply the minutes by 60 and add the remaining seconds. So for our example, it’s (1 * 60) + 23 = 83 seconds. That’s the magic number for this slide.
Setting Up Automated Transitions in Google Slides
With your audio duration in hand, you can now tell Google Slides exactly when to advance.
- Go to Slide → Transition.
- Choose a clean transition like “Fade” or “Slide.”
- Under “Advance slide,” select “After” and type in the exact duration of your audio file in seconds (e.g., 83).
- Repeat for every slide.
Now, just press "Present" to test it. The audio will start automatically, and the slide will advance exactly when the voiceover ends—no manual clicks needed!
This is, by far, the most reliable way I’ve found to add a voiceover to Google Slides that feels perfectly timed. Always give it a final run-through by hitting "Present" to make sure the audio plays automatically and the slides advance exactly when you want them to.
Getting Your Audio Just Right for the Web
Nothing kills the momentum of an online lesson faster than a slide that won't load. If your audio files are too big, you're guaranteeing that some of your students—especially those with slower internet—will spend more time staring at a buffering icon than learning.
The goal is to find that perfect balance where your audio sounds crisp, but the file is small enough to load instantly.
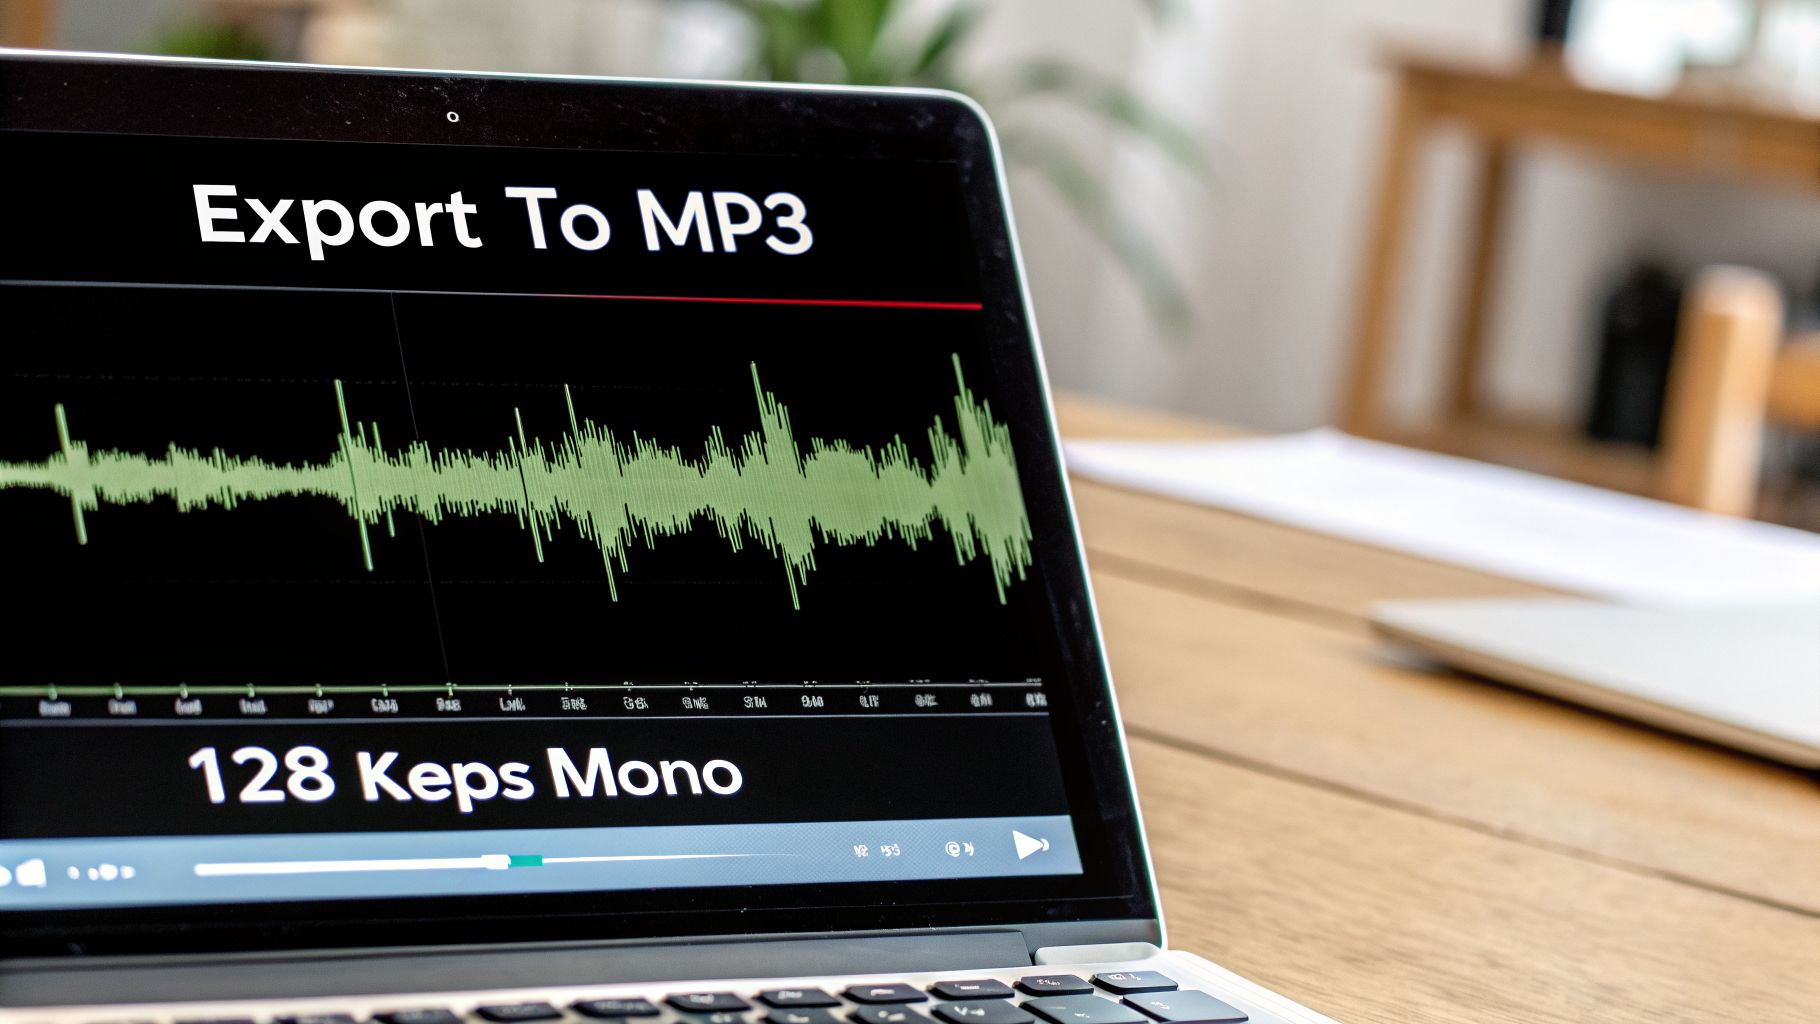
My Go-To Export Settings for Voiceovers
Yes—MP3 at 128 kbps is the sweet spot. This simple formula never fails for any voice narration.
This specific setup shrinks your audio down to a tiny 1–2 MB per minute, which is perfect for smooth streaming on almost any device.
Here’s a quick breakdown of why this works so well:
- Format: MP3. Google Slides loves it, and it's universally compatible with platforms like Mentor LMS, Teachable, or Kajabi.
- Quality: 128 kbps. For spoken word, this bit rate is the sweet spot. It keeps your voice sounding professional without unnecessary data.
- Channel: Mono. Voice doesn’t need stereo, and this simple switch halves the file size with no noticeable loss in quality.
I’ve tested this on Mentor LMS, Google Classroom, Thinkific, Teachable, and Kajabi—zero buffering issues. Files stay under 5 MB even for 3-minute slides, loading instantly even on slow connections. When you're ready to assemble these optimized presentations into a polished lesson, a tool like the Mentor LMS page builder can make the process seamless.
How to Set This Up in Audacity
Getting this done in a free tool like Audacity is incredibly straightforward.
Go to File → Export → Export as MP3. In the dialog box, set the following:
- Bit Rate Mode: Constant
- Quality: 128 kbps
- Channel: Mono
Getting these settings right is especially important when you add a voiceover to Google Slides that will be part of an online course. Always avoid WAV (too big) or anything above 192 kbps (unnecessary for voice). You can find more practical advice on building courses in the official documentation on Mentor LMS.
Troubleshooting Common Voiceover Problems
You’ve done all the hard work, but then something goes wrong. The audio doesn’t play, or a slide jumps ahead too soon. It’s frustrating, but these little hiccups are usually caused by a simple setting that got missed along the way.
Once you know what to look for, these problems are surprisingly easy to fix.
Common Voiceover Issues and Their Fixes
I’ve hit these four common problems countless times, but thankfully the fixes are easy. Based on hours of troubleshooting, we've zeroed in on the most common culprits. You can find even more in-depth solutions in the official Mentor LMS documentation.
Here’s a quick-reference table that breaks down the most frequent issues and their straightforward solutions.
Common Voiceover Problems and Quick Fixes
| Pitfall | What happens | Easy fix |
|---|---|---|
| Audio doesn’t play automatically | Students see a speaker icon and have to click | In the audio sidebar, make sure “Play automatically” is selected (very easy to miss) |
| Slides advance too early/late | Voiceover gets cut off or you’re staring at a blank slide | Use the exact audio duration in the transition settings (copy-paste the seconds from Audacity) |
| Huge file size slows down the course | Long loading times on mobile or slow Wi-Fi | Stick to 128 kbps MP3 + Mono (drops size dramatically) |
| Audio disappears after sharing the link | Happens when you move files or change Google Drive permissions | Always keep the MP3 files inside the same Google Drive folder as the Slides file — never move them |
Getting these four things right will prevent the vast majority of headaches. Each fix is simple, but they make a massive difference in creating a smooth, professional experience for your audience.
Bonus Quick Tip: Always do a final test in “Present” mode in an incognito window (as a student would see it). It catches 99% of issues before you publish.
Common Questions About Narrating Your Google Slides
As you get the hang of adding voiceovers to your Google Slides, you’ll probably run into a few common hurdles. I’ve seen these questions pop up time and time again from course creators, so let’s get them answered.
What’s a Good, Affordable Recording Setup?
You really don’t need a professional studio to get professional-sounding audio. A simple, budget-friendly setup can make a world of difference.
Here’s what I recommend to get started:
- Microphone: A solid USB condenser mic is your best bet. Something like the Fifine AM8, which usually runs about $30–$40, is plug-and-play and gives you a surprisingly warm, clear tone. It’s also great at ignoring background noise.
- Software: You can’t go wrong with Audacity. It’s powerful, versatile, and 100% free. If you’re on a Mac, GarageBand comes built-in and is another fantastic choice.
- Pro Tip: Here’s a trick I swear by—record in a quiet room with a thick blanket draped over your head and shoulders. It might feel silly, but it’s a dirt-cheap way to kill room echo and mimic the sound of an expensive isolation booth.
How Do I Turn My Narrated Slides into a Video?
This is a big one. Google Slides doesn’t have a built-in “Export as Video” button, but the workaround is surprisingly simple: just record your screen.
Use a tool like Loom, Camtasia, or even the free QuickTime player on a Mac. Start the screen recorder, put your presentation into “Present” mode, and just let it run. Since you’ve already set your audio to play automatically, the recording will capture the entire presentation, slides and narration, perfectly synced.
Can I Use an AI Voice Instead of My Own?
Absolutely. If you’re camera-shy, don’t like the sound of your own voice, or just want a different option, AI text-to-speech (TTS) generators are incredibly capable now.
Just type or paste your script into your chosen TTS tool, and it will generate an MP3 audio file for you. From there, the process is exactly the same—just insert that AI-generated audio file into your slides.
How Should I Upload My Narrated Slides to an LMS?
When you’re ready to add your narrated presentation to a learning management system like Mentor LMS, the best approach is to use that video file you created.
Export your final screen recording as a single MP4 video. This one file can then be uploaded straight into your course lesson. It creates a much smoother, buffer-free experience for your students, regardless of what device or internet connection they’re using. And for even more student engagement, you can supplement your pre-recorded lessons by hosting interactive live classes.
Ready to build and sell your online courses with a platform you completely own? Mentor LMS is a powerful, self-hosted solution that gives you full control over your content and business, with no recurring monthly fees. Learn more and get started at mentor-lms.com.